
SEATTLE —
Chiizu Torikatsu
Chicken and cheese katsu
チーズとりかつ
Makes 4 Katsu
Ingredients:
- 8 cups / 1.9L canola or other neutral oil for frying
- 4 oz / 115 g Cowgirl Creamery Wagon Wheel cheese or other soft, flavorful cow's milk cheese
- 2 boneless, skinless chicken breasts (about 9 oz / 255 g each)
- Sea salt
- ½ cup / 60 g all-purpose flour
- 2 large eggs, lightly beaten
- 2 cups /80 g Nama
- Panko (page 150)
For Serving:
- Snowy cabbage (see page 176)
- Lemon wedges
- Tonkatsu sauce
Directions:
In the early years of the restaurant, I always had a glut of chicken breasts. We bought whole chickens from Riverdog Farm in the Capay Valley, then butchered them into a dozen parts for yakitori. These chickens spent their lives running around in the fields, eating farm scraps and scratching for bugs. They had dense, flavorful meat, and we used every bit, from the neck to the feet. The grilled chicken oyster, shoulder blade, liver, heart, and thighs were delicious when grilled.
But the breast meat? It wasn't really suited to grilling-adequate but kind of dull.
It wasn't until we thought to stuff the breasts with cheese, coat them in panko, and fry them until crispy and golden brown, that I started to get really excited about those chicken breasts. The reign of the chicken cheese katsu began.
As with many cheese-stuffed Japanese foods (chizu typically refers to processed cheese), it's a bit of a junky dish: basically, it's fried chicken but with cheese in the center that oozes immodestly when you cut it. And it's addictive.
When we started serving it, I ate one a day for six days straight. We don't use processed cheese; instead, we use a cheese called Wagon Wheel from Cowgirl Creamery, a local cheesemaker. It's a washed-rind cow's milk cheese that is aged for a few months, with a deep, pungent flavor. It also melts beautifully. When Wagon Wheel isn't available, we substitute raclette, which is similarly pungent with excellent meltability. But any tasty, meltable cow's milk cheese such as fontina, provolone, or Gruyère would be suitable.
Chicken breasts come in a range of weights. I look for breasts that are 9 to 10 oz / 255 to 283 g each, but if yours are larger (or smaller), you can still use them for this recipe. The key is to make sure they are not too thick after you've butterflied them; if necessary, pound the breasts with a meat mallet. When the cutlets are the correct thickness, about ½ inch / 12 mm, they cook evenly, the cheese melts satisfyingly, and the panko fries to a lovely golden brown in the time it takes for the meat to cook through.
- In a large Dutch oven or heavy-bottomed pot over medium-high heat, heat the oil until it registers 310°F/ 154°C on an instant-read thermometer.
- Cut the cheese into four batons, each about 4 by 1 by ¼-inch / 10 by 2.5 cm by 6 mm.
- To portion each breast, remove the tender and reserve for another use. Then, cutting on the diagonal, with the knife nearly parallel to the cutting board, cut each breast crosswise into two portions about 4 oz / 115 g each.
- To make a space for the cheese, make a slit on the long side of each piece of chicken, then continue cutting until you're about ½ inch / 12 mm from the opposing side, taking care not to cut all the way through. Open the chicken breast like a book; you should have a piece of chicken that's about ¼-inch / 6 mm thick. If yours is thicker, place it between two sheets of parchment paper and gently pound it with a rolling pin to the correct thickness but not so hard that you tear the meat. Place one piece of the cheese on one half of the piece of chicken and close the "book" to enclose the cheese. Lightly salt both sides of each breast. Repeat with the remaining chicken and cheese.
- Set a wire rack over a rimmed sheet pan.
- Place the flour, egg, and panko in three separate shallow dishes or pie pans.
- Working with one cutlet at a time, dredge the chicken in the flour. Make sure the entire surface is covered and shake off any excess. Next, dip it in the egg mixture, turning to coat completely.
- Then drop the egg-dipped chicken into the panko. Cover the cutlet with panko and press firmly on the top and sides so the panko adheres. Lightly shake off any excess and arrange on the prepared sheet pan. Repeat with the remaining pieces of chicken. It's best to fry the katsu immediately when the panko is at its fluffiest. If you're not planning to fry right away, cover loosely with plastic wrap and refrigerate for up to 3 hours.
- When the oil is hot, slide two of the breaded chicken katsu into the oil. With a fine-mesh strainer, immediately scoop up and discard the loose panko bits that float to the surface of the oil. Adjust the heat to maintain the oil temperature at approximately 310°F / 154°Cand fry for 2 minutes. Using tongs or chopsticks, turn the katsu over and fry for another 2 minutes on the other side. Continue cooking, flipping every 2 minutes, until the chicken has cooked for 7 minutes. When the katsu is nearly cooked, it will start to sit higher in the oil, the bubbles surrounding it will become smaller, and the panko will be golden brown. Using the tongs, remove the katsu from the oil and set it on the wire rack to drain. Allow the oil to return to 310°F/ 154°C and repeat with the remaining katsu.
- To serve, cut the katsu into six to eight slices and serve with the snowy cabbage, lemon wedges and tonkatsu sauce alongside.
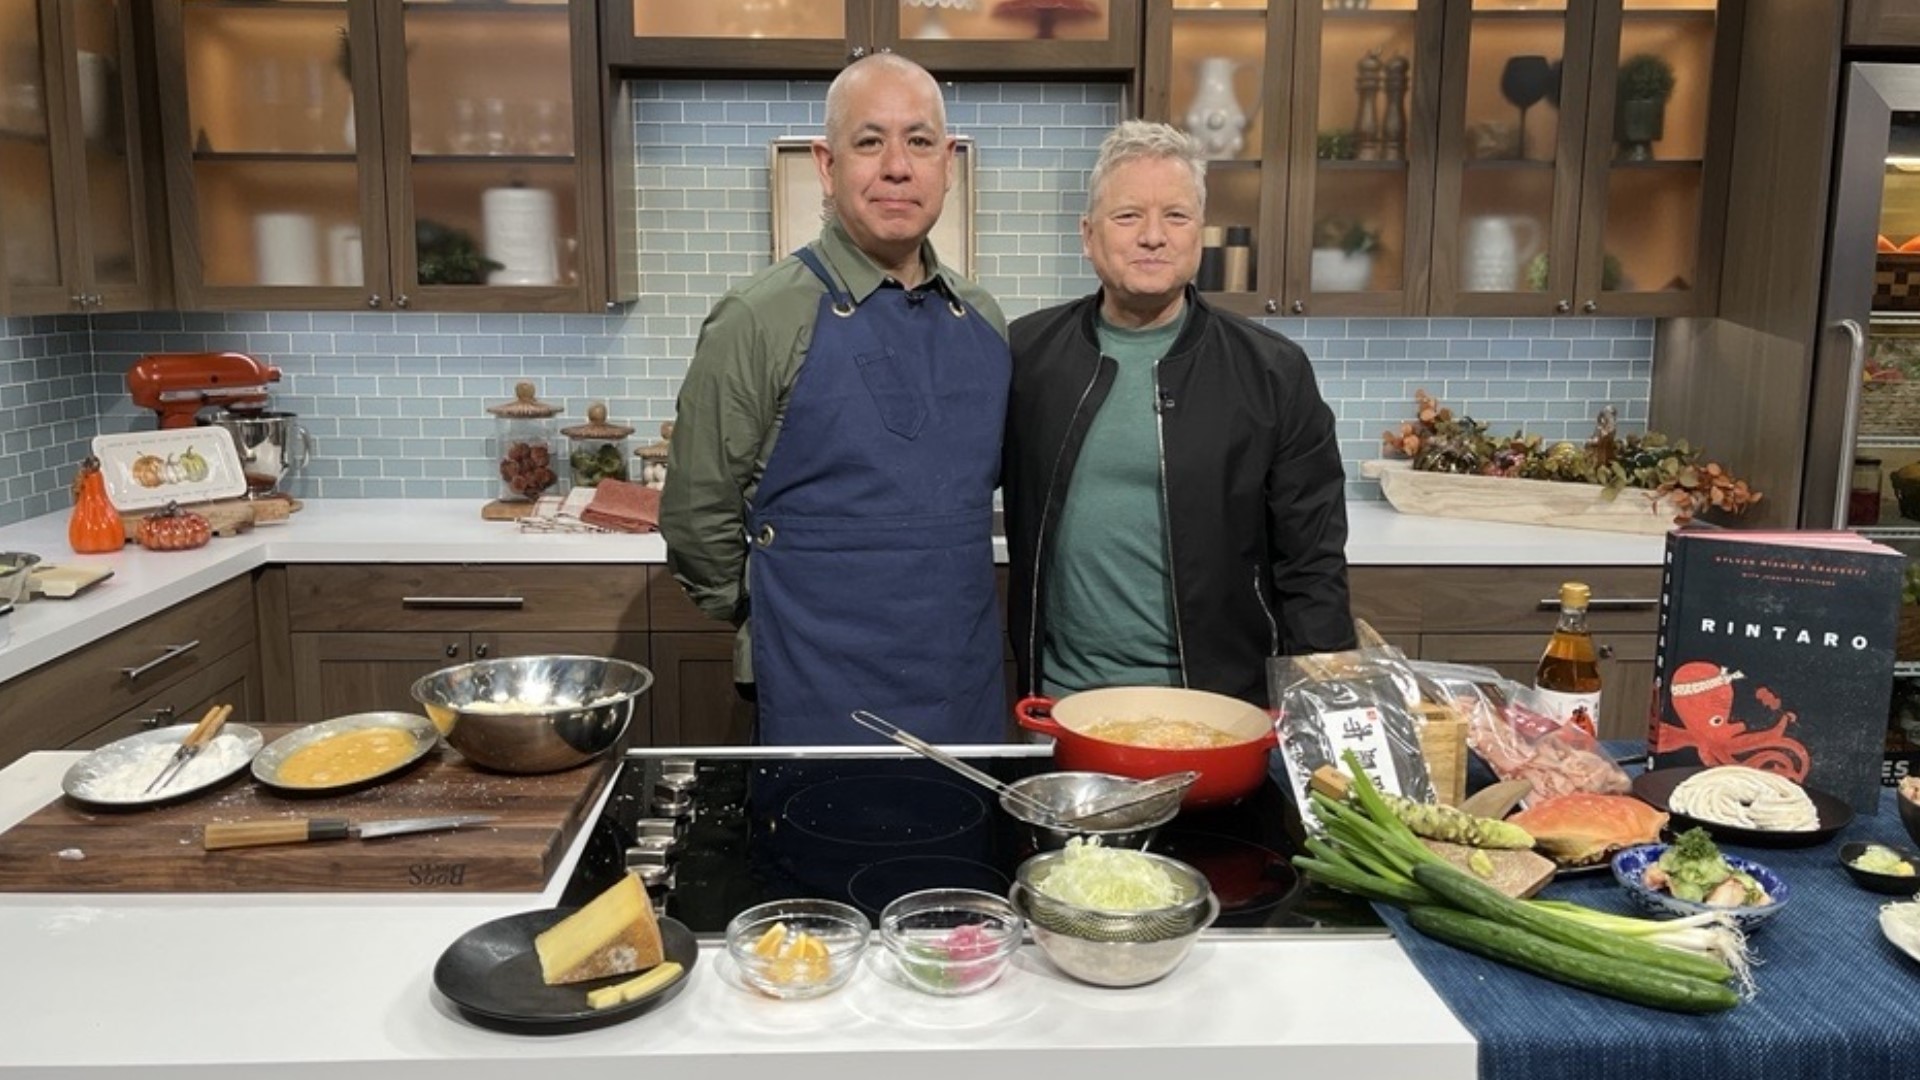
Segment Producer Joseph Suttner. Watch New Day Northwest 11 a.m. weekdays on KING 5 and streaming live on KING5.com. Contact New Day.